LAST UPDATED: 2/23/24
Pan-American Life Insurance Company RTT
This page will explain how to set up and use your Pan-American Real-Time Term (RTT) link and widget.
Contents
Jump to a Section:
- Set Up Your Licensing & Contracting
- Set Up Your Branding
- Configure Your Email
- Find/Use Your RTT Link and Widget
- How to Add the RTT Link to Your Email Signature
- What Your Client Sees
- Use the RTT Marketing Emails
Set Up Your Licensing & Contracting
Before you can access your RTT link or widget, you need to set up the appropriate licensing and contracting information in the system. The RTT system is available to agents licensed in any or all of the following states: FL, GA, IL, IN, IA, KY, MI, MN, NE, OH, PA, SC, TN, VA, WV, and WI.
From your left-hand main menu, select the My Account icon. In the flyout menu, select Licensing & Contracting.

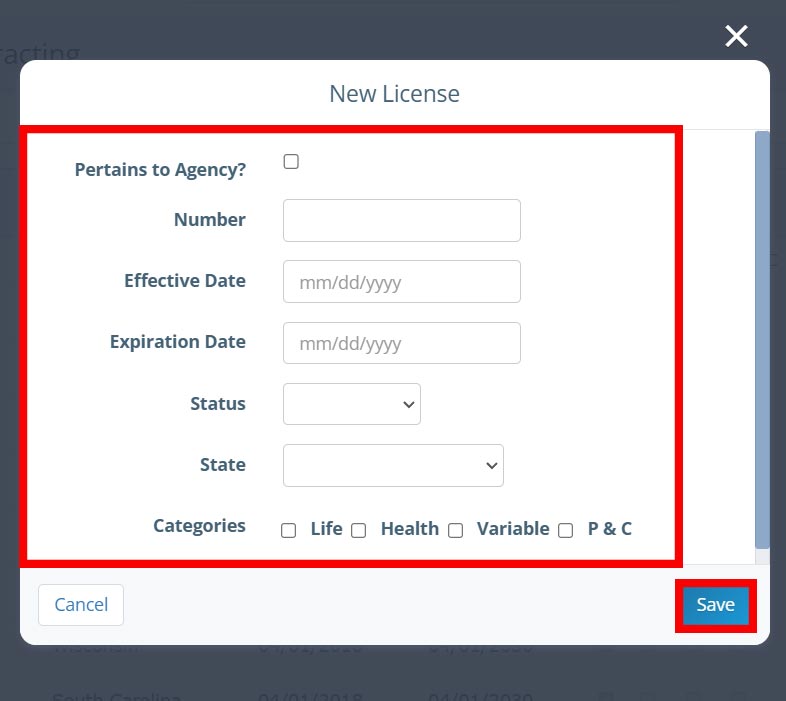
Scroll down to Licenses. Click New License.

Enter the appropriate information, including your license number, effective date, expiration date, status (pending, approved, inactive), state, and categories (corporate, life, health, variable, P&C). Every field must be filled out and saved in order to access or use RTT. Click Save.
NOTE: If you want to save a license number for an agency as well as an individual, you can do so using a New License entry for each entity. For agency licenses, check the "Pertains to Agency?" box. If your state does not require you to include agency license numbers in your communications to clients, you can ignore this box.
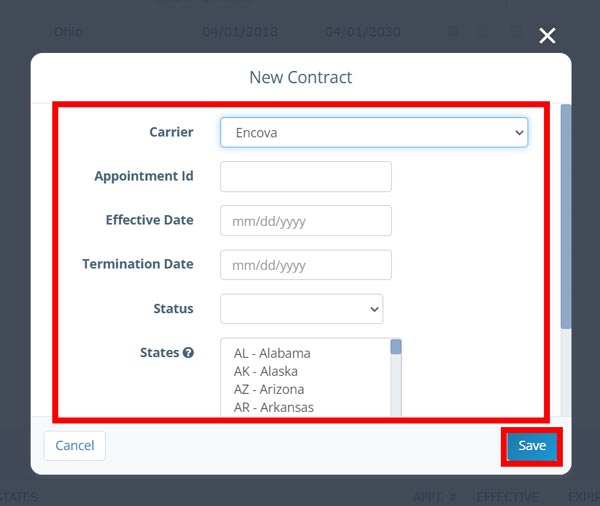
Find the Contracts section (to the right of Licenses). Click New Contract.

Enter the appropriate information. For the carrier, select Pan-American (formerly Encova) from the dropdown menu. Fill in your appointment ID, effective date, status, states, and select the Corporate checkbox. To select more than one state, click the first state to select it. Hold down the Ctrl key while selecting any additional states. All selected states will be highlighted in blue. Click Save.
Once you have filled in and saved these requirements, you need to set up your brand. For more information about the Licensing & Contracting section, click here.
Set Up Your Branding
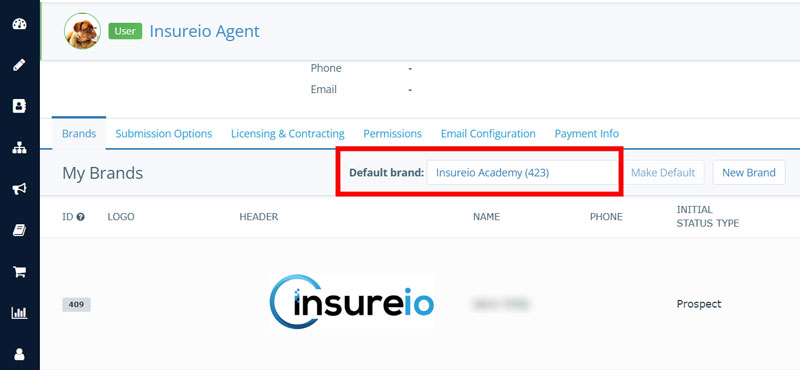
Your RTT link will display your branding information to the client. You'll need to enter a brand image and your contact information as you want your client to see it. From your left-hand main menu, select the My Account icon. In the flyout menu, select Branding Profiles.

Double-check your default brand. The first time you log in, you'll see your name listed as your default brand. Every Insureio user begins with the account holder's name as their default brand. Beneath your default brand selection, you'll see a list of your available brands. If you create additional brands (one for your agency rather than yourself as an individual, for example), you can then set a new brand as your default using the Make Default button. The phone number listed with your default brand will auto-populate based on the phone number you entered when you created your account. You can always change it by modifying the brand details, as explained on the Branding Profiles page.
Click the dropdown arrow to the right of your brand as shown below. Choose Modify.
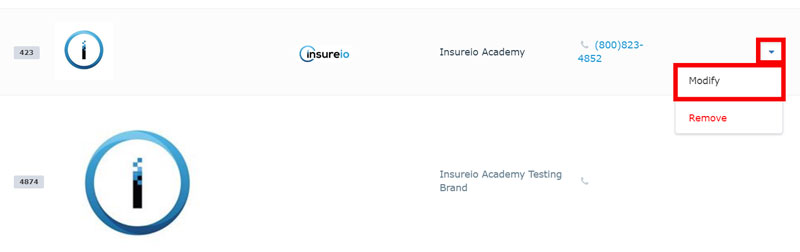
There are several information blocks you can view and modify. For the purposes of RTT, we'll need to add contact info (name, phone, company, email, website/social, address) and a logo.
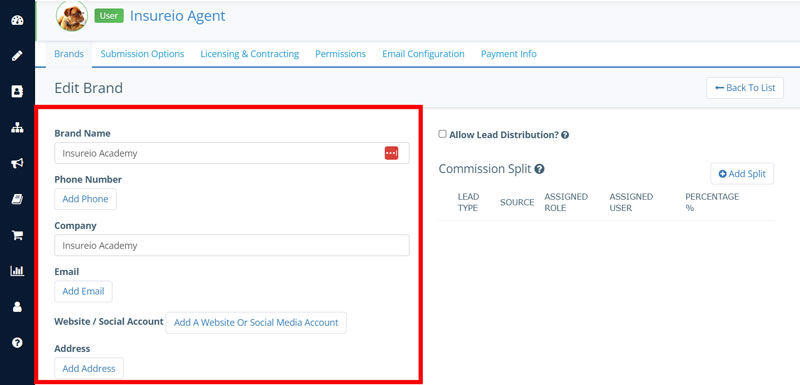
Here are the required pieces of contact info you'll need to fill out:
- Name - Required. Fill in your name as you want your clients and prospects to see it. Insureio will auto-fill this field with the first and last name of the account holder.
- Phone Number - Required. Fill in your brand's phone number as you want your clients and prospects to see it. If you do not fill in a brand phone number, the system will automatically fill in the phone number in your personal profile.
- Company - Required. Fill in your company name as you want your clients and prospects to see it.
- Email - Required. Click Add An Email and fill in your email address as you want your clients and prospects to see it. Insureio will save this information automatically.
- Website / Social Account - Required. Click Add A Website Or Social Media Account. From the dropdown menu provided, choose website, LinkedIn, Facebook, or Twitter. Fill in the complete URL of your website, including http:// or https://, OR the custom URL fragment of your desired social media account. Need help with the social media custom URL fragments? Click here and check out the examples under Website / Social Account - Required.
- Address - Required. Fill in your brand's address as you want your clients and prospects to see it. You can mark an address as home, work, or mailing using the dropdown menu provided.
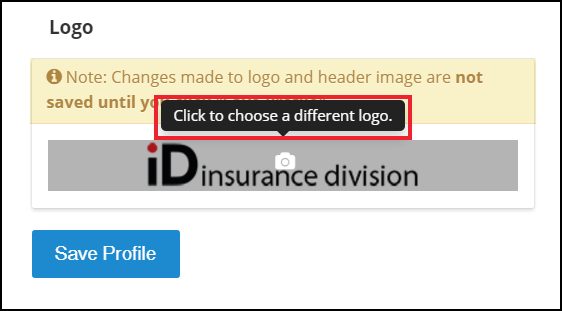
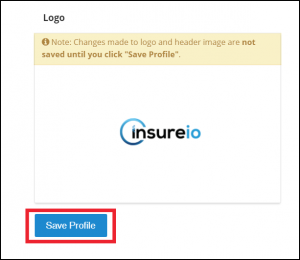
Next, you'll upload a logo. This should be no larger than 200 pixels x 200 pixels. For best results, upload a square image that will fit these dimensions. First, click on the default Insurance Division logo. If you hover your mouse over the default logo, you'll see a prompt asking you to click to choose a different logo.
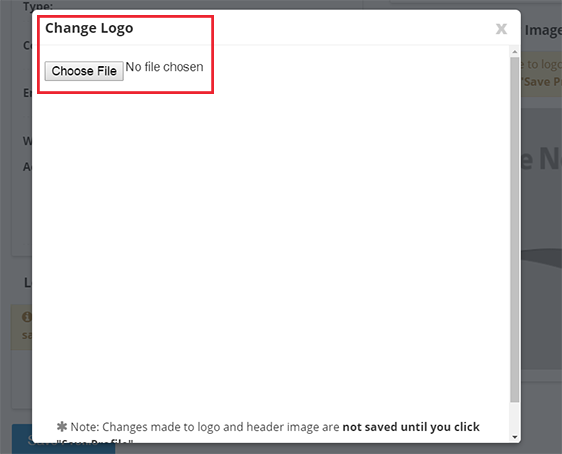
Upload the logo you want your clients and prospects to see in their communications with you.
Drag your logo into the placeholder and reposition as needed. Click Save.
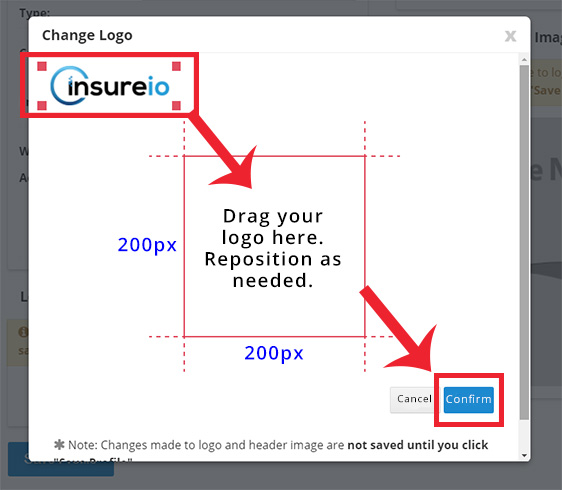
Click Save Profile at the bottom of the screen after the upload is complete.
Once you've filled in your branding profile, it's time to configure your email so you'll receive the RTT system's notifications.
Configure Your Email
All emails sent by Insureio for the RTT process are sent through your email server, not Insureio's email server. If you're using one of the most popular email providers (Office 365, Outlook, or Hotmail/Windows Live), we've done a lot of the configuration work for you. If you're using a different email provider, click here for Yahoo, click here for Gmail, or click here for a different email provider.
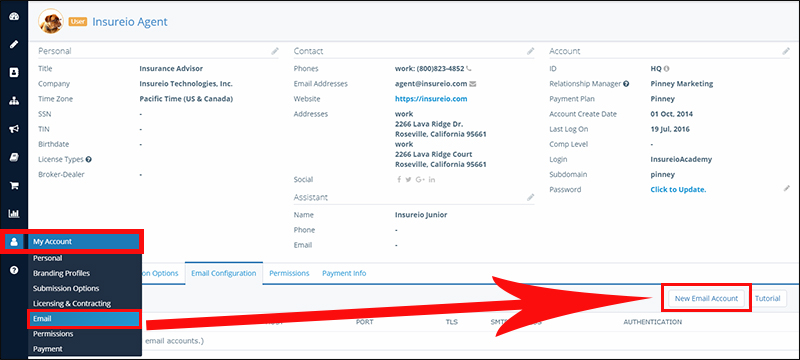
Click My Account and then Email in your left-hand main menu. Then click the New Email Account button on the top right of the Email Configuration tab.
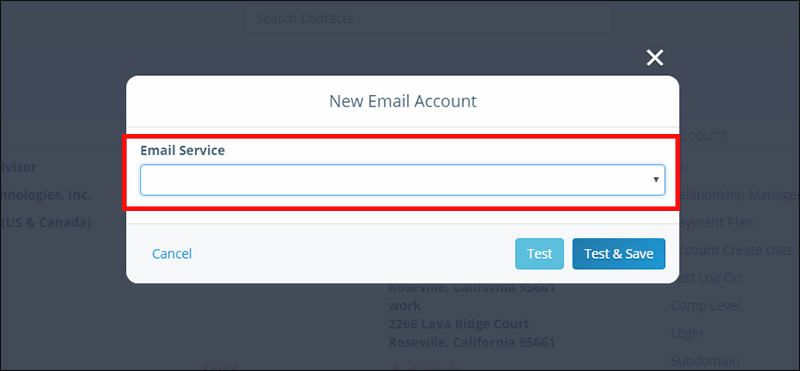
Select your current email provider from the choices in the dropdown menu.
Enter your username (usually your email address), password, and password confirmation.
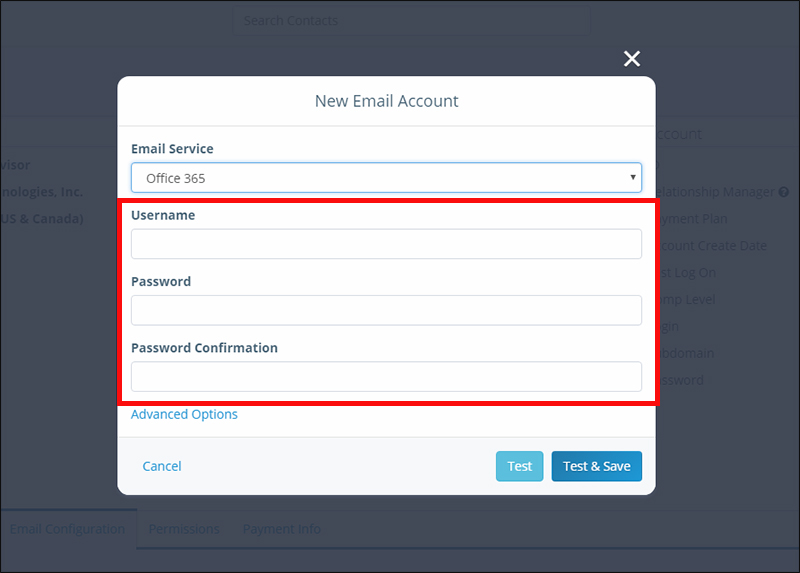
Click the Advanced Options link - it's beneath the text boxes where you filled in your username and password. Use the scroll bar on the right side of the window to see all the available options.
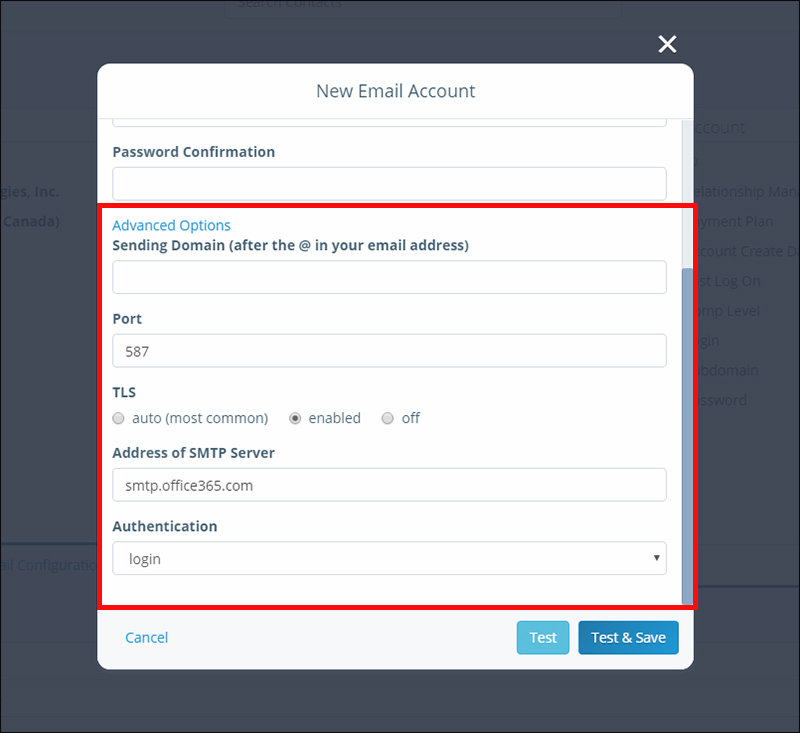
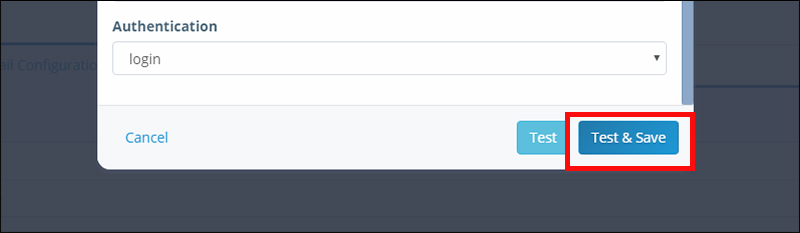
Find the TLS setting. We've discovered that Outlook tends to work best when we change one of these settings now. Change your TLS setting from the default to auto (most common). Click the blue Test & Save button.
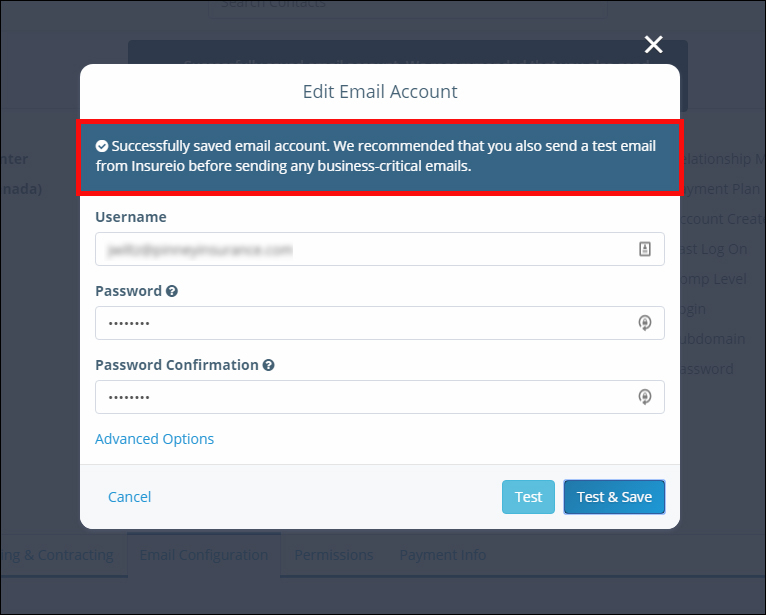
Check the system notifications at the top of your screen as the test progresses. If you see a success message, you're done! Your settings are correct and no further action is required.
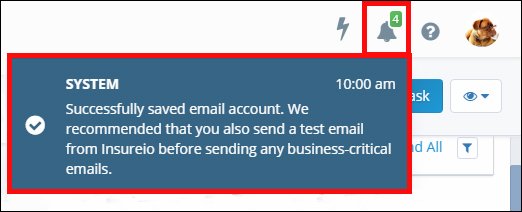
NOTE: The above message won't stay on the screen forever. If you miss it and need to double-check the status of your email configuration, click the bell icon to read the saved alerts.
TIP: Want to send a test email to yourself to double-check your settings? Head to the Marketing / Marketing Templates section, choose any of the available email templates, and click Email Self.
Got an error message instead of a success message?
Click here and scroll down to the section titled "Got an error message instead of a success message" for detailed instructions on troubleshooting your email configuration.
Once you've configured your email, it's time to grab your RTT link and/or configure your widget.
Back to topFind/Use Your RTT Link and Widget
Link
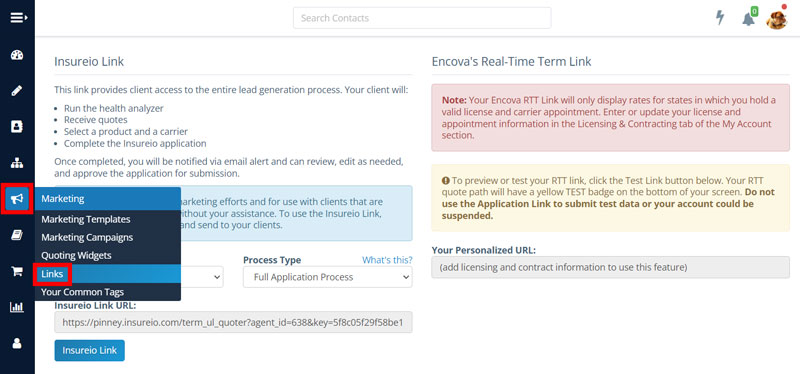
From your left-hand main menu, select the Marketing section. In the flyout menu, select Links. On the right side of the screen, you'll see a section for your Pan-American (formerly Encova) Real Time Term Link. If you have not set up your licensing and contracting info, this link will not be available yet.
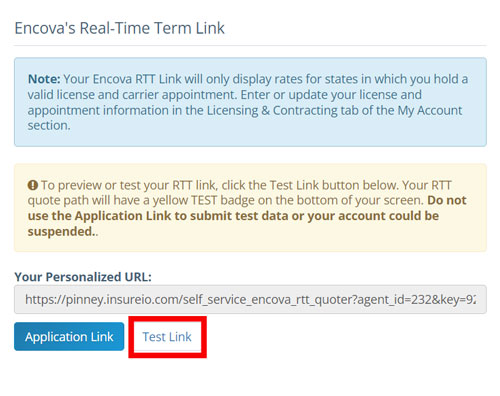
NOTE: You have access to a "live" application link and a test link. To preview or test your RTT link, click the Test Link button.
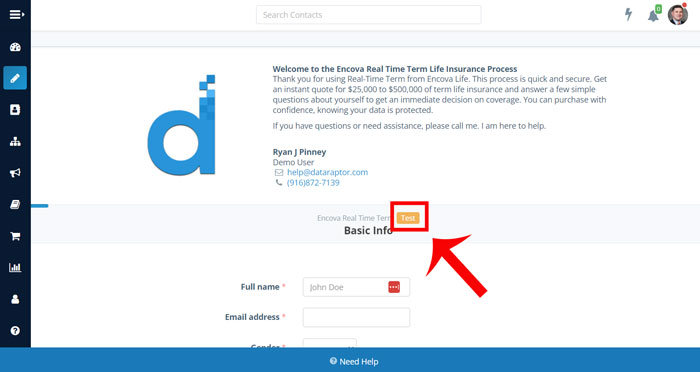
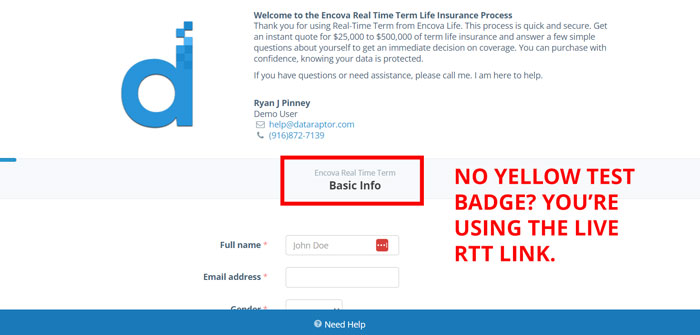
Your test RTT quote path will have a yellow TEST badge as shown in the image below. Do not use the live Application Link to submit test data or your account could be suspended.
Ready to use your live link? Click the blue Application Link button in the Your Personalized URL section.
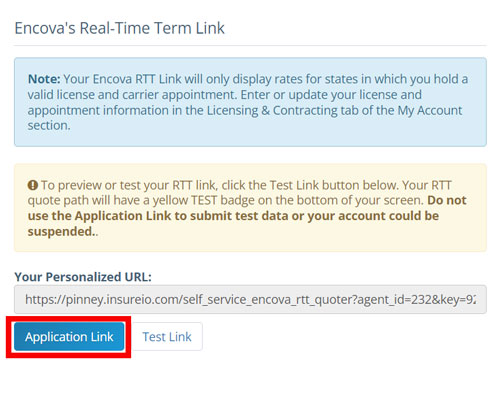
Send this link to clients to allow them to complete the RTT process anywhere, anytime. Add this link to your email signature, share it on social media, etc. Note that when you are using the live link, you will NOT see the yellow TEST badge, as shown below.
Widget
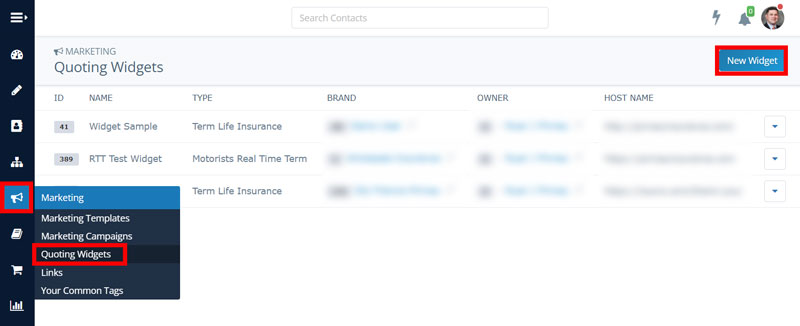
From your left-hand main menu, select the Marketing section. In the flyout menu, select Quoting Widgets.
From the top-left dropdown menu, select Pan-American Real Time Term. The two fields highlighted in red on the left are the minimum requirements to save your widget. You may also change other specs if you wish.
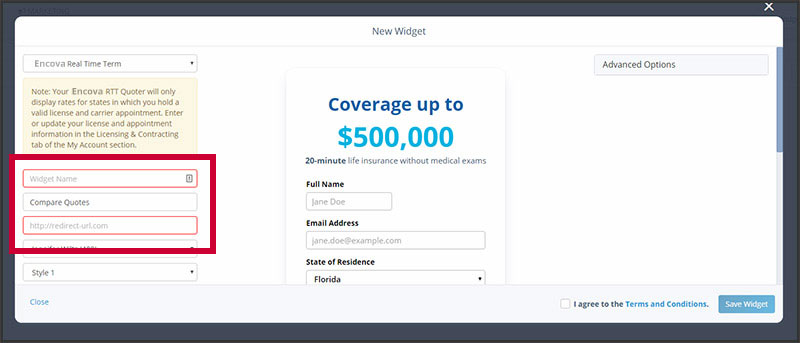
- Widget Name (required). Enter the name for this widget in the text box below the widget type. Your saved widgets will be listed by their names. If you plan on A/B testing small design changes like button text, be sure you name each widget appropriately so they’re easy to locate in your list of widgets (i.e., “RTT Widget with Button Text Variation 1,” etc.).
- Button Text (optional). The second data field, where you see "Compare Quotes," is the text for your widget's button. You may want to change this from the default.
- Widget Redirect URL (required). This is the URL you want your prospect to be redirected to at the end of the process. A "thank you" or "what's next" page would be best, but the home page of your website is a good second option. Be sure to include the "http://". If you forget it, you'll see a tan message box above the URL entry field reminding you to include it. Until your URL is complete, the "Save" button will not save your selections.
- Widget Branding (default; you can change this). From the dropdown menu below the URL entry field, select the appropriate brand for this widget. It will default to your personal brand.
- Style (default; you can change this). Use the dropdown menu to choose between styles. You’ll see an instant preview on your screen. To change the colors of the widget background, text, button, header text, and border, use the dropdown menus provided. Each dropdown menu contains a color picker. If you know the hex codes for your brand's colors, you can input them in the text box instead of using the color picker.
Check the I agree to the Terms and Conditions box and click Save Widget. You’ll see a preview of what your widget looks like, along with the source code to paste into your website.

Want to test your widget? You can do so in this preview window by entering test data. Or use the test page URL provided to see your widget in action.

Save Widget button not working? Take a look at your URL entry field. If you're missing the "http://" or a dot extension (.com, .net, etc.), the widget builder won't save your work. Double-check this field and try the Save Widget button again.
How to Add the RTT Link to Your Email Signature
The directions below are for Outlook 2013, 2016, and Gmail. To access your email signature in different versions of Outlook:
- Outlook 2007: Create a new email / Message tab / Email Signatures
- Outlook 2010: File menu / Options / Mail / Signatures
- Outlook Web: New mail / Signatures
In Outlook 2013 or 2016
1. Click New Email. Then click Signature.

2. From the dropdown list of available signatures, choose Signatures (at the bottom).
3. In the Signatures dialog box, select a signature to edit or click New. If you click on an existing signature, it will appear in the editing window for you. If you click new, you’ll be prompted to name the signature before editing.
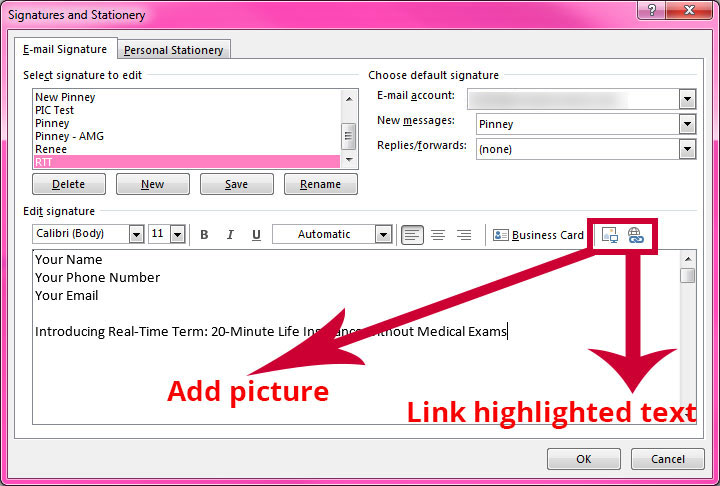
4. Edit or fill in your signature info as needed. Add the RTT-specific text you want to hyperlink (i.e., Introducing Real-Time Term: 20-Minute Life Insurance without Medical Exams).

5. Highlight the text you want to hyperlink. Click the link icon (furthest right above your editing window).
If you want to add a picture and hyperlink it, click the picture icon (2nd from the right). Once you add the picture, click to select it and then click the link icon. Continue with step 6.
6. Make sure your link selection (on the left) is Existing File or Web Page. Paste your RTT link into the Address bar. Click OK.

7. Your RTT text or picture will now be a hyperlink. Click OK to save your signature.

8. To insert this signature into any email, select it from the Signature menu.

In Gmail
1. Open Gmail. Click the gear icon and select Settings.

2. Scroll down to the Signature setting.

3. Select the radio button above the signature blank (not the “No signature” button, which is selected by default).

4. Enter the information you want in the top portion of your signature – name, email, phone, etc. Also enter the text you want to hyperlink (i.e., Introducing Real-Time Term: 20-Minute Life Insurance without Medical Exams). If you only want to hyperlink text, skip to step 5.
Want to insert/hyperlink a picture instead of text?
Hit return to move your cursor down, then click the picture icon to add your RTT image.

Select your image. If it’s already saved to your computer, click Upload at the top of the pop-up window first.

Click the image to resize it, if needed. As you can see in the sample image below, the image is wider than the viewer. When you click the image, Gmail gives you three additional options: Small – Medium – Large – Original Size – Remove. We selected Large, and the image fit nicely.

5. Click and drag over the image or your text to highlight it. Then click the link icon.

6. Select Change from the link options provided beneath your image or text.

7. Paste your RTT link into the blank for a web address. Click OK.

8. Scroll to the bottom of your Gmail settings. Click Save Changes.

9. Double-check your work – click Compose to start a new email. Your email should include your new signature block.

What Your Client Sees
When your client clicks the RTT link or clicks through to get a quote from your widget, here's what they'll see:
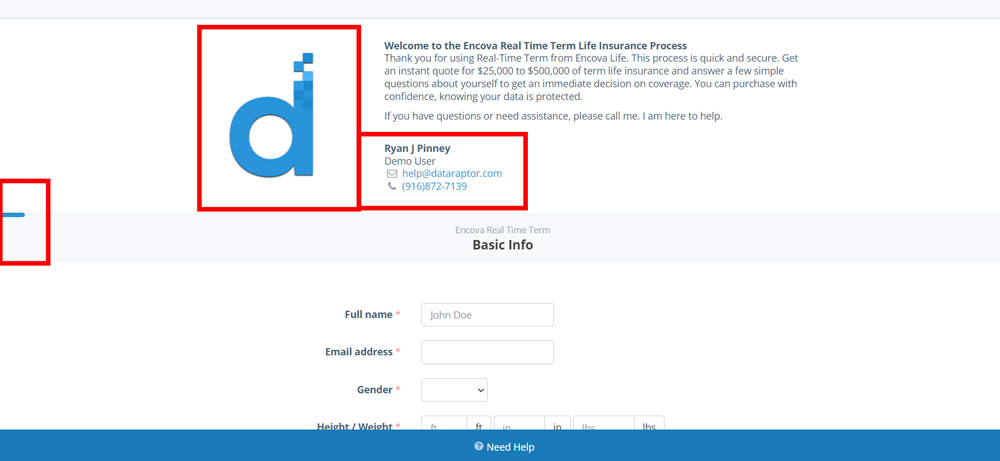
This is the first page of the quote path. Your client will see a progress bar at the left of the screen so they know how far they've come through the process. They'll see a welcome message, your logo, name, company name, and contact info. Beneath the welcome message, they'll be prompted to begin the RTT process by providing basic information about themselves.
Each successive screen will guide them through the process by asking for the amount and duration of coverage they want, as well as a series of targeted health and lifestyle questions. Based on their answers, the system provides them with an underwriting decision. If they're approved, they have the opportunity to adjust their coverage amount and duration, select a payment mode (annual, monthly, etc.), enter beneficiary information, and their payment information. The entire process can be completed online in just 20 minutes.
System Emails
At various points in the process, the consumer's information will be saved to a new client record in Insureio. You will also be notified by email or given a to-do task on your Insureio dashboard when certain things happen:
- If a prospect begins the RTT process but does not complete it within 30 minutes
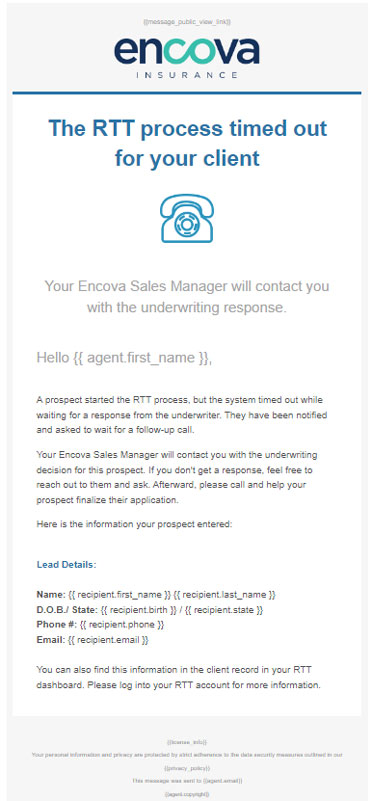
- If the system times out during the underwriting process. In this case, a Pan-American representative will contact you with the prospect's underwriting decision and you can communicate it to them
- If a prospect designated someone else as an owner or payor, but that person did not complete their portion of the application within 3 days, following 3 reminder emails prompting the client to reach out to their chosen owner and/or payor
- If a prospect designated someone else as an owner or payor, but that person declined to complete or sign the application
- If a prospect requires additional underwriting based on their answers to the health & lifestyle questions
- If a prospect has been approved but does not finalize their coverage within 3 days, following 3 reminder emails to prompt them to do so
- If a prospect has been declined
- If a prospect declines the offered coverage
- If a prospect successfully completes the process and has coverage in force
- Email Self. The system will send an email to the address in your profile.
- Custom Distribution (shown below). Enter up to 100 email addresses, each separated by a comma.
- Blast Distribution. Send email to all clients in a previously created report. Click here for more information about sending options.
The purpose of these emails is to keep you informed about what your client is experiencing. In most cases, they will prompt you to get in touch with your client and ask if you can help. If, for example, they require additional underwriting, you may be able to find other policies or carriers that meet their needs.
Use the RTT Marketing Emails
NOTE: Be sure you have filled out your brand details (including the marketing header image) and set up your email configuration before using the RTT marketing emails.
1. From your left-hand main menu, click Marketing and then Marketing Templates.

2. In the search box on the right, type “rtt” in the Search by Name box. From the Purpose dropdown, select Consumer Marketing. Click Apply Filters.

3. Click any template name to view it in a new browser window. Keep in mind that any variables filled in by the system upon sending (such as your logo and signature block information) will not appear in this preview.

4. Click the Send icon.

5. For your Link Type, select Custom URL and paste in your RTT link.

6. Select a Sending To option.

7. Check the disclaimer box to affirm that you are not sending email to a purchased email list and that your correspondence complies with the CAN-SPAM Act.

8. Click Send Email.
