Adding a New Contact
This article will explain how to manually add a new consumer or system user. For most users, your contacts are probably consumers. If you're managing an agency, you can also add system users via a separate process, described below. If you want to import a large contact list, use the CSV import process.
Jump to a section:
Add a New Consumer
- Click Contacts Management in your left-hand navigation menu.
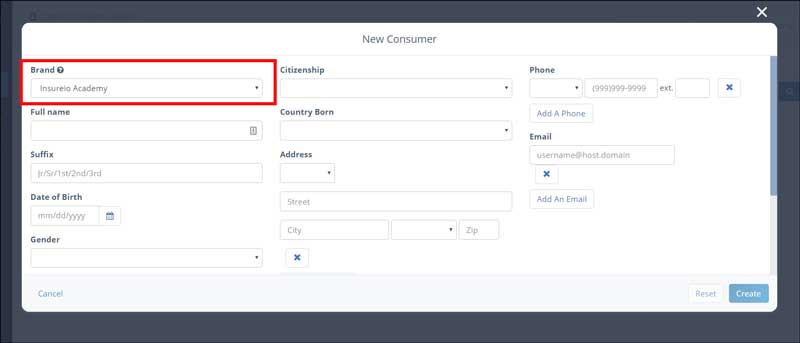
- Click the New Consumer button in the top right of your screen.

- Fill in as much of your new contact’s information as possible, including full name, DOB, gender, marital status, citizenship, country born, address(es), phone number(s), and email address(es). Note that your default brand will auto-fill as the first item in your new contact's record. Use the dropdown menu to select a different brand, if needed.
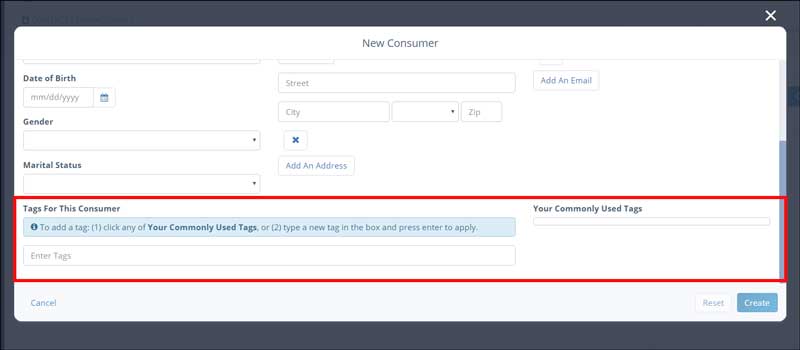
- Scroll down to add any desired marketing tags for this contact. If you've already applied marketing tags to other contacts, your commonly used tags will appear in the box on the right. Click to select and apply of your commonly used tags, or type a new tag into the box and press enter to apply it. Click here to learn more about creating and using marketing tags.
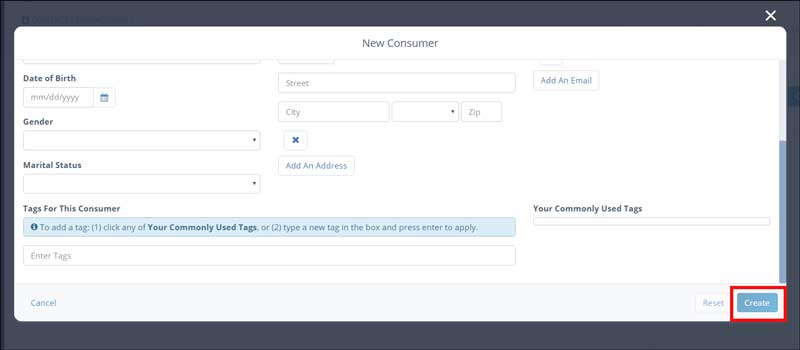
- Click Create to save your new contact.
All new leads will automatically have a case status of "prospect," which triggers a follow-up task by default. You will see this task on your dashboard after entering your new contact's data. This will help you organize and prioritize follow-up action needed for this contact.
Note: A "lead" automatically becomes a "client" when a policy is in force.
Add a New User
- Click Contacts Management in your left-hand navigation menu.
- Click the New User button at the top right of your screen.

- Fill in as much of your new user’s information as possible. By default, the system will list you as the parent user.

- Full Name. Required.
- Is This User a Recruit? Does this person already work for your agency and need to log into Insureio to do their job? If so, do not check this box. But if they're someone you want to bring into your agency and haven't yet, do check this box. Keep in mind that a recruit is not a true system user. Recruits cannot log in, and they don't show up in hierarchy views or agent assignment menus. You can, however, market to them via email.
- Email(s). At least one email address is required.
- Password and Password Confirmation. If your user is NOT a recruit and needs to log into the system, you can choose a password for them. If this is left blank, the system will rautomatically generate a password. The user can re-set it when they're ready to log in.
- Initial Status. When this user receives a new lead, which initial status should that lead be given?
- Company. Required.
- Personal Notes. Not required, but may be helpful later. For example, you can note their hobbies, interests, alma mater, where you met, meetings you attended together, etc.
- Work & Mailing Addresses. Not required, but helpful to have. It can save them a step from filling it out in their profile later.
- Phones. Not required, but helpful to have. It can save them a step from filling it out in their profile later.
- Click Create to create your new user. You'll see a success message at the top of your Contacts Management screen.
- To double-check your new user was saved correctly, use the search filters on the right. Select the Users filter and enter the first or last name in the search box. Your new user should display for you.
